PDR Tool Guide: Equipment Types & How to Choose
Paintless dent repair equipment splits into two working principles — pulling metal out from the panel's face or pushing it back into shape from behind — plus a set of supporting tools like lighting and surface-prep products that make either approach possible. Understanding which category a "PDR tool" belongs to, and why, is what actually determines whether you buy the right glue system, hammer, or sonic tip the first time.
What Is a PDR Tool?
PDR tools are the equipment used to perform paintless dent repair (PDR) — a set of professional methods for restoring a damaged panel's shape through controlled metal movement while keeping the existing factory or refinished coating intact, without stripping and reapplying it. The "paintless" part describes the outcome, not a ban on every material: adhesives, cleaning agents, and release films are all normal parts of the process.
Most PDR work relies on one of two mechanical approaches. Glue-pulling works from the outside of the panel: an adhesive-backed tab is bonded to the dent's low point, and a lifter or slide hammer applies a steady outward pull until the metal returns toward its original contour. Metal-pushing works from the panel's underside, using rods and picks to press the dent out from behind. Shops that need both — because a panel is double-skinned, aluminum, or blocked by internal bracing — combine the two into a hybrid workflow. That's the gap tool makers such as Glexo build for, producing cold-glue systems, tabs, and metalworking tools engineered for whichever side of the panel the repair calls for.
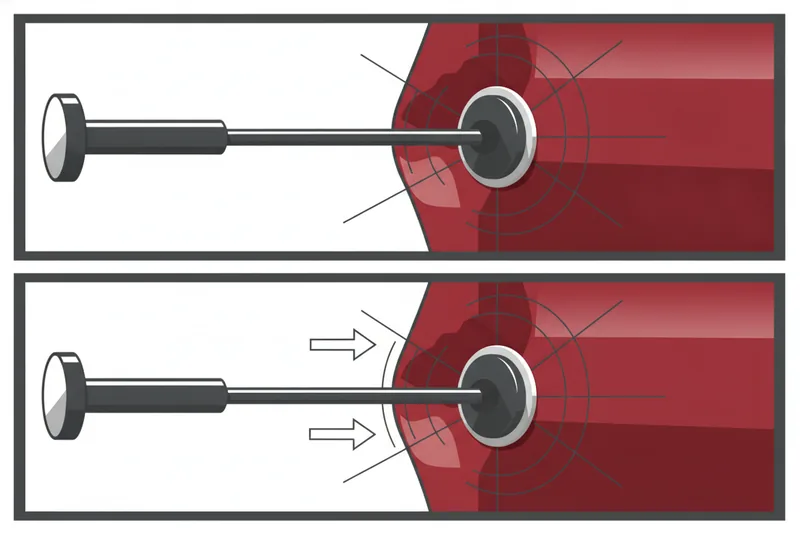
Neither approach requires body filler or repainting when the repair qualifies, which is the core commercial value of PDR over conventional collision work. But qualification isn't automatic: paint condition, metal stretch, and access all decide whether a dent is a PDR candidate at all.
Types of PDR Tools: Glue-Pulling, Metal-Working, and Lighting
Most of what fills a technician's bay groups into three broad families — glue-pulling gear, metal-working tools, and lighting — alongside consumables like cleaning wipes and release films that support all three rather than belonging to just one.
Glue-pulling systems
This kit centers on glue-pulling tabs — small plastic or metal fittings bonded to the dent with adhesive — connected to a slide hammer or a whale tail / dent lifter (a flat, leveraged pulling bar) that transmits outward force to the tab. This is the go-to approach when the backside is sealed, structurally reinforced, or simply unreachable.

Metal-working tools
Once metal is roughly back in place, or when the backside is accessible from the start, technicians switch to push/knockdown tools: blending hammers, knockdown tappers, and sonic tips for fine, internal-access shaping. These refine the surface rather than pull it.
PDR lighting for dent visibility
Neither approach works blind. PDR lighting — reflector boards and line boards that rake light across the panel — reveals a dent's true edges and depth, alongside supporting tools like tap-down pens and knockdown files. Without it, a technician is guessing at contour.
Glue Systems: Cold Glue vs. Hot Glue and Temperature Ranges
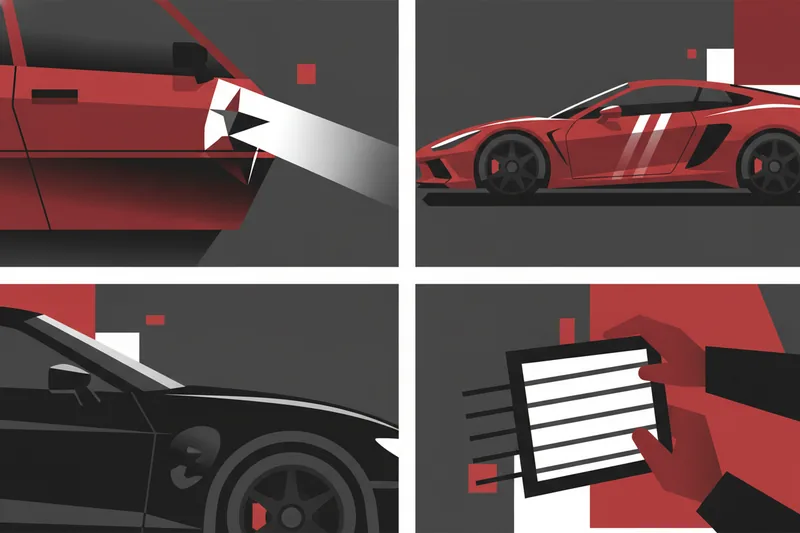
Cold glue is a reusable, tacky compound applied to a pulling tab; because it isn't melted on, the same compound can generally be scraped off and reused across multiple pulls as long as it stays clean and within the product's working condition. Hot glue sticks are melted with a glue gun to bond a tab, which typically gives a firmer initial tack but means the bond is consumed with each pull. Neither method is the industry-wide default — cold and hot glue pulling are both established, situational tools, not one replacing the other.
Choosing cold glue by ambient temperature
Cold glue's tack changes with heat, so it's typically supplied in temperature-banded formulas: one variant built for ambient conditions up to roughly 86°F/30°C, and a firmer-bodied variant for work above that mark. Picking the wrong band for a hot bay or a cold outdoor hail job shows up immediately as tabs that won't hold or glue that won't release cleanly.
Prepping the surface for better adhesion
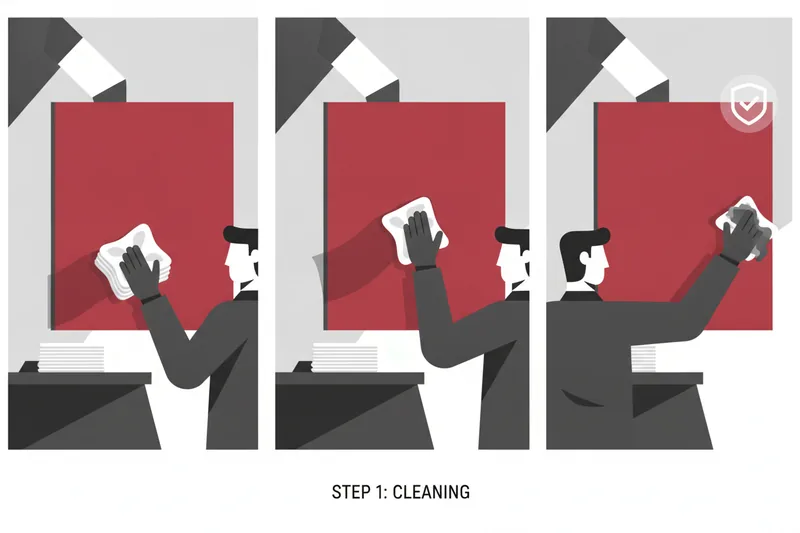
Adhesion fails more often from surface contamination than from a bad glue choice. Wax, sealant, and factory paint-protection films all reduce tack. SPS surface-prep wipes are disposable, deep-cleaning wipes used immediately before tab placement to strip that contamination and improve bonding, especially on older paint or coated panels. When the job is finished, anti-adhesive film placed between the tab and the panel keeps hot-glue residue from bonding directly to good paint, so cleanup doesn't risk the finish.
Hammers, Tappers, and Sonic Tips Explained
These three tools handle the fine-control side of the job — settling metal that's already close to shape and eliminating the small distortions a pull can't finish.
Blending hammers for settling metal
A blending hammer taps the panel's surface to relax tension and gradually settle metal into place. They come in multiple head weights; a heavier hammer moves more metal per strike but is harder to control on thin panels, while a lighter head trades speed for precision on delicate areas.
Knockdown tappers for fine detailing
A knockdown tapper is used after the bulk of the dent is pulled, to knock down small high spots with a precise, repeatable strike. Tip size matters here — a smaller, mirror-polished tip concentrates force for detail work without leaving marks, while a larger tip covers broader low spots faster.
Sonic tips for internal access
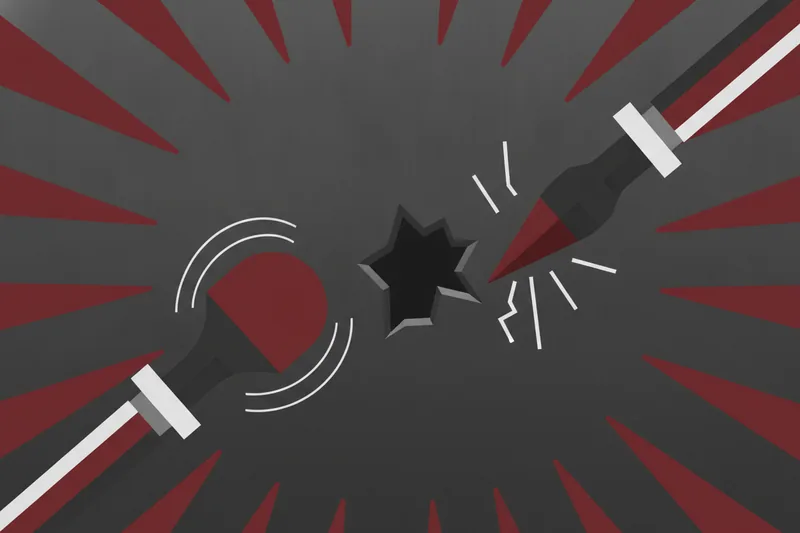
Sonic tips attach to a sonic tool for reaching dents through access holes where hands and hammers can't go. Soft tips (rounded) apply gentle, sustained pressure suited to stretched or sensitive metal, while sharp tips (pointed or spiked) deliver short, targeted strikes for tighter high spots. Choosing wrong in either direction tends to produce the same failure: pushmarks — small raised or sunken spots left by uneven force — instead of controlled metal movement.
Hail Repair Tool Kits: Built for High-Volume Work
Hail jobs are a different workload than a single-panel repair: dozens to hundreds of shallow dents per vehicle, and every minute lost between pulls compounds across a fleet. A hail kit is built around that math. It typically bundles redundant tabs in the common hail sizes, so a technician isn't stopping to clean and reapply the same tab between pulls, alongside a cold glue system suited to repeated-pull, high-cadence work. Reliability matters more than raw pulling force here — a kit that reduces downtime between pulls, rather than one built for a single deep crease, is what actually moves a hail-volume job forward.
How to Choose a PDR Tool Kit: Beginner vs. Professional
The right kit depends on repair volume and panel variety, not on price alone.
What a beginner kit should include
A starter setup needs coverage of the core mechanics without redundancy: one general-purpose glue system (cold glue for flexibility across temperatures), a basic set of tabs in a few sizes, a slide hammer, one mid-weight blending hammer, and a single knockdown tapper. Surface-prep wipes belong in this kit from day one — adhesion problems are the most common early mistake, not tool quality.
What a professional shop should stock
A working shop needs depth in every category: cold glue in both temperature bands, hot glue for jobs needing firm, single-use tack, a full tab range including hail-kit redundancy, several blending hammer weights, multiple knockdown tapper tip sizes, and both soft and sharp sonic tips for internal access variety. PDR lighting boards and anti-adhesive film round out a bay that's handling mixed panel types daily rather than occasional repairs.
FAQs About PDR Tools
What is a PDR tool? It's any piece of equipment used in paintless dent repair — glue-pulling gear (tabs, slide hammers, whale tails), metal-working tools (blending hammers, knockdown tappers, sonic tips), and supporting equipment like PDR lighting and surface-prep wipes.
Can you DIY paintless dent repair? Small, shallow dents on accessible panels are sometimes attempted with basic tools, but PDR is classified as a cold-straightening repair method, and OEM restrictions on some panels or damage types override any DIY attempt regardless of tool quality. Whether a dent even qualifies for PDR depends on metal stretch, access, and paint condition — factors a trained technician assesses before touching the panel. That assessment, more than the tool itself, is what separates a clean repair from a damaged panel.
What's the best PDR tool kit? There isn't a single best kit — the right combination depends on whether the work is single-panel collision repair, hail volume, or mixed shop work, which is why glue system, hammer/tapper set, sonic tips, and surface prep should be matched to actual job type rather than bought as a generic bundle.
Are PDR tools different for beginners vs. professionals? The tools are the same categories; the difference is depth. Beginners need one reliable option per category to learn technique. Professionals need several weights, tip sizes, and glue formulations on hand to match whatever panel and temperature the day's job presents.
If you're stocking or upgrading a bay, browse Glexo's professional PDR tool lineup — cold-glue systems, hammers, tappers, and sonic tips built for technicians — and check the regular-customer discount on your next order.