How to Glue Pull Dents: Choosing Glue and Tabs
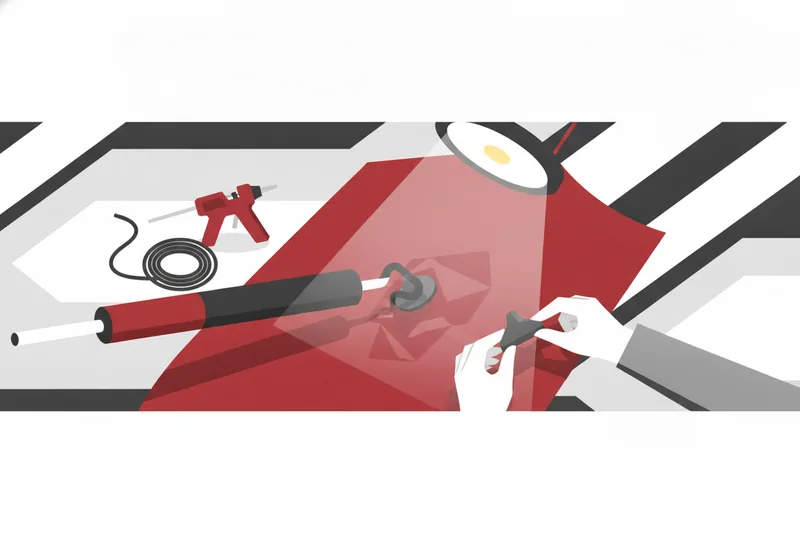
When you glue pull dents, success comes down to two decisions made before the slide hammer ever touches the panel: the right glue for the temperature and surface you're working with, and the right tab for the dent's size and shape. Get those two right, and a slide-hammer pull releases the dent without leaving a mark, a push-mark, or a stuck tab behind. Get either one wrong, and no amount of technique with the puller fixes it.
What a Correct Glue Pull Actually Achieves
A correct glue pull ends with the panel back at its original contour and the paint layer unmarked — no witness lines, no induced high, no low spot left behind. Reaching that result depends on matching the pull to the dent's geometry and the panel's condition rather than pulling harder: cold-glue response changes with tab area and shape, compound thickness, panel and ambient temperature, surface cleanliness, and the speed and direction of the pull. An off-axis pull can lift or distort the area beside the tab instead of correcting the dent itself, and a slide hammer's sharp impulse behaves differently from a sustained pull on a lifter or bridge. Exterior glue pulling earns its place particularly where backside access is poor or would cost more repair-and-install work than it's worth. Stop the moment the finish changes sheen or a high starts to form under the tab — those are signs to reassess, not push through.
Before You Pull: Matching Glue to Temperature and Tab to Dent
Before you touch a glue gun or a cold-glue system, three decisions determine whether the pull releases cleanly: which adhesive chemistry fits the job, which glue is right for the shop's ambient temperature, and which tab shape will carry the pull the way the dent needs it. Skipping any one of the three is the usual reason an otherwise careful pull still leaves a push-mark or a tab bonded to the panel instead of the dent lifting free.
Hot Glue vs. Cold Glue: When Each Works
Hot glue pulling bonds a tab to the finish with a PDR hot-melt adhesive — usually supplied as a glue stick melted through a glue gun — then pulls through a compatible device once the bond sets. It gives a tight, controllable bond suited to pinpoint work on deep or small, sharp dents.
Cold glue pulling uses a reusable tacky or viscoelastic compound instead of a melted adhesive, pressed onto a tab built for that chemistry. Because the compound doesn't need heating or a full cure cycle between pulls, it suits broad initial movement, hail jobs where dozens of tabs go down in sequence, and larger or more complex damage where repeat placement matters more than pinpoint precision.
Either chemistry still has to match the shop's ambient and panel temperature. As a general guideline, choose a formulation rated for use up to about 86°F (30°C) versus one designed for conditions above that threshold. Glue mixed or applied too cold won't build tack; applied too warm, it can stay soft and let the tab creep under load. Pick the cold-glue or hot-melt formulation rated for the range you're actually working in, and bring the gun to its set temperature — checked against the product's instructions, not by eye — before the first tab goes down.
Picking Tab Size and Shape for the Dent
Tab selection follows the shape and scale of the low, not habit. Match tab size to the dent's diameter, tab stiffness to the panel's curvature, and tab shape to the direction the load needs to travel — a round tab centers force on a round dent, while an elongated crease tab spreads pull along a crease or a linear low. The tab's neck and interface also have to suit the adapter and puller in use, and the panel material itself affects which tab will hold.
Before committing to a glue pull at all, confirm the dent is a good geometry match. A dent that crosses two body lines, or sits where access would otherwise suggest backside pushing, doesn't automatically rule glue pulling in or out on its own — the finish and the geometry still decide.
Run the compatibility chain before the first tab goes down: the surface cleaner or wax-and-grease remover has to suit the finish, the adhesive has to suit the glue gun, the adhesive has to suit the tab, the tab has to suit the panel, the tab's neck has to suit the adapter, and the adapter has to suit the puller. One mismatch anywhere in that chain is enough to cause a failed release.
The Glue-Pull Procedure, Step by Step
The steps below assume the dent and the finish already passed the checks above — glue pulling was chosen for this panel because it fits, not just because backside access was unavailable.
-
Clean and decontaminate the panel — wipe the repair area and a margin around it with a surface cleaner or wax-and-grease remover. If the panel carries a ceramic coating, wax, sealant, or leftover release agent from a previous pull, that layer blocks adhesion and has to be stripped, not just dusted. Result: a surface the adhesive can actually grip.
-
Select and condition the glue for the shop's ambient temperature — for cold glue, pick the compound rated for the current temperature band and check its condition if it's been through earlier cycles; for hot glue, bring the gun to the adhesive manufacturer's set temperature and purge the nozzle if you've switched glue brands. Result: adhesive at the tack and viscosity it was designed for.
-
Apply glue to the tab — lay an even bead or film across the tab's full contact face, enough to cover it without excess that squeezes out onto the surrounding paint. Result: a tab with uniform, sufficient contact adhesive.
-
Press the tab onto the center of the dent and hold it — center the tab over the lowest point, apply firm even pressure, and hold for the glue's specified set time, which differs by product. Result: a tab bonded firmly to the panel.
-
Attach the slide hammer to the tab — seat the adapter fully onto the tab's neck and align the hammer's travel with the direction the metal needs to move. Load travels from the hammer through the adapter and tab into the adhesive and then the panel skin, so a mismatch anywhere in that chain shows up as a weak or crooked pull. Result: puller seated and aligned with the pull direction.
-
Pull in controlled, incremental strokes — work the slide hammer in short, repeated impulses rather than one long pull, checking the panel's contour between strokes. Result: the dent lifting gradually instead of jumping past the original contour.
-
Release the tab once the contour is restored — stop as soon as the panel reads level against the surrounding shape; continuing past that point risks pulling a high. Result: the dent removed without overpulling.
-
Remove glue and residue from the panel — lift the tab, then clear the remaining adhesive with the release agent or solvent appropriate to that glue, working it off rather than scraping it so the clearcoat isn't scuffed. Result: a clean, pull-ready surface for the next repair.
Worked example: a small hail dent sits near the center of a steel hood, on a cool shop morning when the cold-glue system's standard compound is still a little stiff. The technician switches to the low-temperature variant, wipes the dent and a few inches of margin with a surface cleaner to strip a factory wax layer, and presses a small round cold-glue tab onto the dent's center once the compound has softened enough to tack. Once the compound sets, a slide-hammer adapter locks onto the tab's neck, aligned straight up off the hood's design crown. Three short impulse pulls bring the panel most of the way back; a fourth, lighter pull closes the remaining gap. The panel reads flat against the surrounding hood skin, so the technician releases the tab and wipes off the tack residue with release agent.
Confirming the Pull Actually Worked
Check the result with light before trusting your hand: run a line board or PDR light across the panel and watch how the reflected lines behave over the repair. Straight, undistorted lines mean the contour matches the surrounding panel; a lens-like bend marks a remaining low, and a flattened or bulging segment marks a high.
Follow the light check with a hand pass — bare palm or fingertips trailing across the repair — since a shallow, broad low or high can sit below what reflected light picks up at some angles but is still obvious to touch.
If a shallow low remains after a few slide-hammer pulls, don't keep impulse-pulling the same spot: a sustained pull from a bridge puller or mini lifter applies load more gradually and often closes a stubborn gap that repeated impulses won't. Watch for the opposite problem too — a bridge puller or lifter loaded too hard can leave a high right where the tab sat, or a pair of small lows where its support feet rested on the panel. Either outcome means back off the load and recheck, not push further.
Troubleshooting: Why the Tab Won't Stick, and What to Fix First
When a tab won't stick, or lets go mid-pull, work through causes in this order.
Contaminated or coated paint is the most common cause. Wax, ceramic coating, sealant, or leftover release agent from a previous pull all sit between the adhesive and the paint and block the bond outright. Re-clean with a proper surface cleaner before blaming the glue.
Wrong glue for the ambient or panel temperature is next. A cold-glue compound rated for warm conditions stays too soft in a cold shop and won't build enough tack; a hot-glue bond applied before the gun reached its set temperature never fully melts into the tab's contact face. Swap to the temperature-appropriate product rather than compensating by pressing harder or holding longer.
Insufficient glue is a simpler fix: a thin or patchy bead leaves part of the tab's contact face without adhesive, so the bond fails exactly where the load is highest. Reapply with full, even coverage.
Wrong tab size or shape causes the fourth failure pattern. A tab's contact face, body stiffness, neck, and puller interface all have to suit the dent and the device in use — a tab too small for the dent concentrates load on too narrow an area and tears free, while one too rigid for a contoured panel never seats flush enough to bond. Remember a tab has no pulling force of its own; it only transfers what the adhesive bond can hold.
When a tab does fail, diagnose which of the three breaks happened before trying again — the adhesive itself fractured, it let go of the tab, or it let go of the paint. Each points to a different fix, and repeating the same pull without knowing which one happened just wastes the next tab.
Consistent releases come down to having the right glue chemistry, tab geometry, and surface-prep materials on hand for the conditions actually on the shop floor, not improvising around whatever's left in the kit. Glexo makes glue systems, pulling tabs, and surface-prep products built around that variability — worth a look if your current lineup can't cover both ends of the temperature range you work in.