How to Use a Slide Hammer Dent Puller
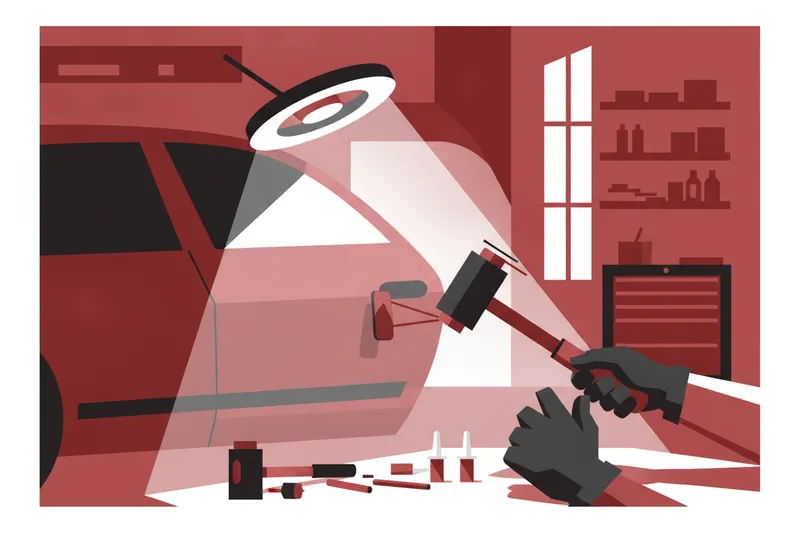
A slide hammer dent puller gets you a clean pull when the result depends less on the hammer itself and more on four things done in order: the panel is properly prepped, the glue and tab are matched to the temperature and the dent, the pull is worked incrementally rather than forced, and the finish is tapped down in small, checked steps. Skip or rush any one of those and the hammer can still move metal — it just won't move it cleanly.
What a Slide Hammer Dent Puller Is and How the Tab-and-Slide Mechanism Moves Metal
A slide hammer dent puller is an inertial pulling device: a shaft carrying a sliding weight that the technician draws back and releases against a stop, producing a short, sharp pulling impulse rather than a steady draw. That impulse travels through a tab adapter into a pulling tab — the exterior attachment bonded to the dent that actually transfers the pull into the metal.
It's one of several pulling-device categories used in glue-pull repair. A mini lifter gives a metered, localized lever pull; a bridge or beam puller sustains tension across a support frame; a slide hammer delivers a fast impulse pull instead of either. The short burst moves metal quickly but gives less real-time feedback, so an off-axis attachment can shift the adjacent area rather than just the target low. The category has a documented place in hail and general roughing work, though lighter slide hammers suit more precise single-dent pulls — the right choice comes down to access, tab interface, and panel support rather than habit. Damage reachable only through an access hole, or better suited to a welded-pin puller, calls for a different method entirely.
Tools and Materials to Have Ready Before Starting
Pick tools after the dent and panel are assessed, not before — the kit in the case shouldn't decide the diagnosis. Have ready: a slide hammer with a tab adapter sized to your tabs, an assortment of pulling tab shapes and sizes, both a cold-glue and a hot-glue-stick option so ambient temperature doesn't limit you mid-job, surface-prep wipes or cleaner for the panel, and a tap-down (knockdown) tool for finishing.
Before any of that, confirm the basics a repair plan requires: workable reflection and lighting to read the panel, an assessment of damage, finish, and access, and a clean, undamaged working end on whatever surface-control tool you reach for. This is professional glue-pull equipment built for repeated use on finished panels — a different proposition from an amateur suction-cup or hot-glue starter kit, which is its own conversation. Confirm panel support is stable and safe before engaging any pulling device; a rushed setup causes more bad pulls than a wrong tool choice does.
Cleaning and Prepping the Panel for Reliable Adhesion
Surface prep for glue pulling is chemical cleaning, nothing more: isopropyl alcohol or a PDR-specific degreaser removes wax, ceramic coating, liquid-glass sealant, and road film — each of which acts as a release agent and cuts glue adhesion if left behind. A panel that's ready for a tab is clean, dry, and squeaks under a finger; if it doesn't, clean it again before gluing.
Cold-glue and hot-glue prep differ slightly: hot glue tolerates a touch more surface variability because it mechanically keys into minor texture as it cools, while cold glue depends more heavily on a fully degreased, bare-clean surface for its tack. Warming the glue itself into working condition is not the same as warming the panel — heating the panel surface isn't part of this prep step. Treat a previously refinished panel with extra caution: its adhesion and flexibility are less predictable, it may hide filler, and a glue pull on it carries more risk than on factory paint. The same caution applies to matte or satin finishes, ceramic coatings, PPF, wraps, decals, or any exposed substrate or corrosion — confirm compatibility before committing glue to the surface.
Matching Glue and Tab to Temperature and Dent Type
Glue and tabs are sold as separate, compatible components, not one bundled product — the pairing has to be checked for every job, not assumed from habit.
Cold Glue vs Hot Glue by Ambient Temperature
Cold glue is a reusable, tacky, viscoelastic compound applied straight from the container onto a compatible tab, with no glue gun needed. Its working range is temperature-dependent: a cold-glue product suited to cooler shop conditions can go soft and unreliable once ambient and panel temperature climb, which is why most lines offer a separate warm-weather variant. Hot glue, melted and applied with a glue gun as a stick, sets as it cools and can out-perform cold glue in cold shops where even a warm-weather cold glue won't grab. Temperature is the first filter, but pull dynamics matter too: a sharp, shock-style slide-hammer pull generally wants a more rigid, brittle glue, while a slow, sustained pull suits a more elastic one.
Selecting Tab Size and Shape
A glue tab has four working parts: a contact face, a body that sets stiffness or flex, a neck or load path, and an interface to the tab adapter. Size and shape should match the dent, not the glue brand: a small round tab concentrates pull on a tight, isolated low; a larger or stiffer tab spreads pull across a broader, shallower one; an elongated crease tab distributes pull along a line. Tab color or texture isn't a strength rating — match by spec, not appearance. Confirm the whole chain is compatible before gluing: finish with cleaner and release agent, adhesive with tab, and tab neck with adapter. Where there's no backside access, glue pulling becomes the default route, but finish condition and any OEM restriction on the panel still apply.
Step-by-Step: Pulling the Dent with the Slide Hammer
- Confirm the panel is prepped and the glue has reached full tack per its own cure time before attaching anything to the slide hammer.
- Center the tab over the lowest point of the dent and hold it under light pressure for the glue's specified set time.
- Thread the tab adapter and slide hammer onto the tab's interface and confirm it sits square to the panel — an off-axis attachment pulls at an angle and can shift metal in the adjacent area instead of the target low.
- Engage the slide hammer in short, deliberate strokes rather than one maximal pull, checking the panel under a reflection board between strikes.
- For a single, isolated dent, pull incrementally until the contour approaches the surrounding plane, then stop short of final shape and hand off to tap-down finishing.
- For hail-density damage, branch the approach: lift whole zones with the adhesive system first, address remaining highs with pick tools second, and keep a blending hammer running across the worked area throughout to relieve stress rather than chasing one dent at a time.
- If a pull doesn't move the metal, don't assume more force is needed and repeat it blindly — recheck tab seating and adhesion first, since a stuck pull usually points to a prep or bonding problem, not an undersized tool.
Finishing the Pull: Tap-Down Technique to Prevent Pushmarks
Tap-down, also called knockdown, is controlled action on a defined high or damage crown delivered through a contact tool — typically a mushroom-tipped knockdown — applied as a series of small strikes rather than one blow, with a reflection board or PDR light showing the result as you go. Once the pull has brought the low close to the surrounding plane, switch to the tap-down tool and work remaining highs down in short taps, rechecking the reflection line every few strikes.
Knockdown and blending-hammer passes manage the surface and read the result; they don't substitute for the pull itself, so resist tapping down a dent that hasn't been drawn close enough already. If a high resists, don't reach for a harder strike — more force cuts the feedback that tells you when to stop and raises the odds of marking an edge or brace nearby. Read the final result under a straight-line or fog light at a low, raking angle — a clean repair shows no shift in the reflected line and no visible ring around the tab site. This stage stays inside paintless dent repair proper; a related process called push-to-paint borrows the same tools ahead of conventional refinishing, which is a separate job outside what a slide-hammer pull is meant to finish.
Common Mistakes and How to Fix Pushmarks or Poor Pulls
The most common cause of a bad result is trying to reach final contour in one strong pull instead of working it incrementally with checks in between — that turns a low into a new local high. Fix it mechanically: shorter pulls, more frequent light checks, stop as soon as the contour reads flat.
Wrong tab size is next: an undersized tab on a broad, shallow dent concentrates force too narrowly and can crease the metal; an oversized tab on a tight dent misses the true low point. Re-tab to match the dent's footprint rather than compensating with more force.
Poor adhesion is usually a prep problem, not a glue problem — recheck that the surface was fully degreased and dry before blaming the product, and treat a refinished or coated panel as higher-risk. If a tab lets go mid-pull, identify which failure happened: the glue can fracture, release from the tab, or release from the paint, and each points to a different fix — more cure time, a different tab-glue pairing, or another prep pass — rather than just pulling harder.
Choosing the slide hammer because it's already in hand, before damage, finish, and access are assessed, is a basic selection error worth catching early. If a small pushmark ring remains around the tab site, treat it as its own very local high: bring it down with the tap-down tool in small steps, rechecking the light after each one, since heavy or early knockdown on a crown can deepen the low again.
When you're choosing the glue-pull tools and consumables for this procedure, pick a cold-glue and tab system rated for your actual working temperature and panel type, and pair it with proper surface-prep wipes and a finishing tap-down tool from a professional PDR supplier such as Glexo.