PDR Glue Kit Guide: How Glue Pulling Works
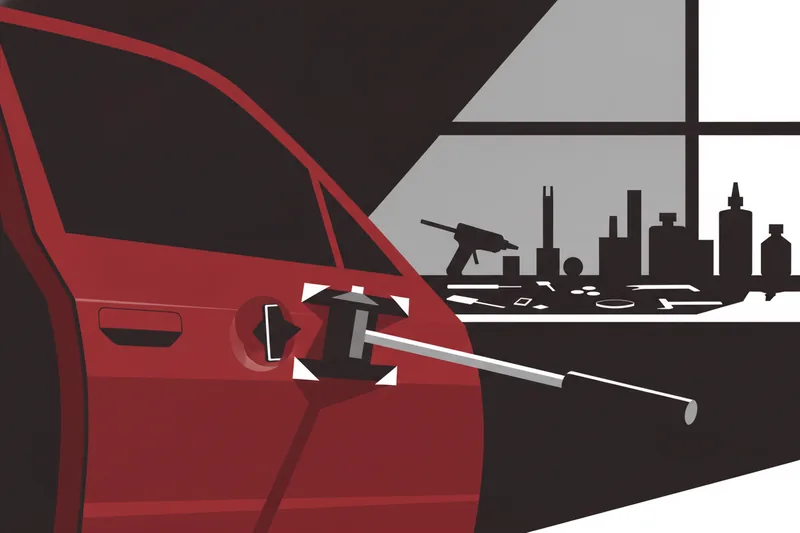
A PDR glue kit is a matched system, not a grab-bag of parts: glue-pulling tabs, a temperature-correct cold glue or PDR hot-melt adhesive, and a pulling device — a slide hammer, bridge puller, or mini lifter — that let a technician pull a dent from the painted side without removing trim or reaching the panel's backside. Get one piece wrong for the job — wrong glue for the temperature, wrong tab for the panel, an uncleaned surface — and the pull either fails to grab or leaves a pushmark on top of the original dent.
What Is a PDR Glue Kit and How Does Glue Pulling Work
Cold glue pulling is an exterior process: a reusable, tacky compound is applied to a tab, and the tab connects to a compatible pulling device so force transfers into the panel without breaking the paint film. It's a different process from Glue Pull Repair (GPR), the conventional straightening technique I-CAR derived from PDR — GPR is its own method, not another name for paintless glue pulling. Glexo's cold-glue systems sit inside this exterior-pulling family, built around tabs, temperature-matched compound, and compatible slide hammers.
Because nothing is welded or drilled, the coating and any backside corrosion treatment are preserved compared with weld-on pulling — a process advantage, not a guarantee the finish will hold the bond.
The glue-pull sequence: clean, glue, tab, lift
Clean the panel, apply glue to the tab, seat the tab over the dent center, then load it with a pulling device. A bridge puller spans the repair area from supports on either side; a slide hammer delivers inertial, on-axis force through the tab; smaller dent lifters or hand pullers apply direct, controlled pull for lighter work. Which one you reach for depends on dent size, access, and how much force the pull needs.
Cold Glue vs Hot Glue for PDR
Cold glue and hot glue are different tools for different jobs, not a hierarchy — the choice depends on the damage, the finish, and the temperature, not on one being generally "better." Some repairs run cold glue first for broad movement and finish with hot glue; others skip cold glue entirely.
Can you use regular hot glue for PDR?
No. What the trade calls hot glue is really PDR hot-melt adhesive — a purpose-built consumable, not a heating method — and it needs a glue gun compatible with that specific adhesive. Craft glue guns and generic sticks aren't formulated for controlled bonding and clean release from automotive paint, and a temperature setting dialed in for one brand's stick doesn't carry over to another's. Sticks generally need around 8 minutes to cool and fully bond before a pull, less in cold weather — it isn't ready just because it's stopped feeling tacky.
Hot glue still earns its place on deep, small, sharp dents where cold glue's broader tab contact can't concentrate enough force; cold glue fits large shallow areas, heavy hail damage, and design crown work better, where distributed pull matters more than pinpoint grab.
What's Included in a Professional Glue Pull Kit
A real glue-pull system is built around a handful of components: metal tabs in multiple sizes and shapes — round for isolated dents, elongated crease tabs for linear damage — cold glue cartridges or sticks matched to the tab and your working temperature, a compatible pulling device (slide hammer, bridge puller, or a compact T-handle puller), and anti-adhesion storage film to keep unused tabs clean between jobs.
Pull performance isn't just about the glue. Tab area, shape and stiffness, how thick and evenly the compound is spread, panel and ambient temperature, surface cleanliness, dwell time before pulling, pull direction, which puller you're using, and how many cycles the compound has been through all shift how a pull responds. A kit that only varies the glue and keeps everything else fixed gives you half the control a technician needs.
Choosing Glue by Ambient Temperature and Dent Type
Temperature is the first filter, because compound viscosity shifts with heat: many cold-glue lines offer separate variants for cooler and hotter conditions, but the exact temperature thresholds and formulation vary by manufacturer, so always match the tab to the compound's stated range so it doesn't slide or over-soften mid-pull. Color isn't a reliable way to sort these — go by the stated range, not the tint.
Pull dynamics matter too: a rigid, more brittle glue suits a sharp shock pull, while a softer, elastic compound suits a slow sustained pull, with panel metal temperature factoring in alongside ambient air. Dent depth and panel type push the decision further — a double-panel dent doesn't automatically qualify for glue pulling just because backside access is blocked; the finish and geometry still have to allow it. There's no fixed cold-then-hot sequence; the repair plan decides.
Surface Prep: The Adhesion Step Most Kits Skip
Most glue-pull failures trace back to the surface, not the glue. Surface prep means chemical cleaning only — isopropyl alcohol at 97-99% or a PDR-specific degreaser — to strip wax, ceramic coating, sealant, and road film, all of which separate glue from paint. It's never abrasive: sandpaper or a matting sponge marks the clearcoat and defeats the point of a paintless repair.
This is where SPS wipes fit in: a disposable, pre-saturated wipe for deep-cleaning a panel before glue goes on, useful on older paint or surfaces carrying a protective layer that would otherwise cut adhesion. A ceramic coating can reduce tab grip, and the coating maker's own instructions should govern whether and how it's removed before you pull. A previously refinished panel deserves extra caution — adhesion is less predictable, and hidden filler underneath changes how the panel responds, worth flagging before you start gluing. Anti-adhesive film isn't part of this cleaning step; its job is storing tabs between uses so old compound doesn't pick up contamination.
Step-by-Step: Using a Glue Pull Kit Safely
- Clean the full repair area with alcohol or a PDR-specific degreaser, not just the dent center.
- Confirm compatibility before gluing anything: finish with cleaner, adhesive with glue gun and tab, tab neck with adapter, adapter with puller.
- Apply glue to the tab, not the panel, and seat it centered on the dent.
- Let the bond set fully — roughly the 8-minute window for hot glue, not as soon as it looks solid.
- Attach the puller, treating every link in the chain — puller, adapter, tab, glue, finish, panel skin — as a place a pull can go wrong.
- Pull in short, controlled increments, watching the surrounding metal, not just the dent center, to catch a high before it spreads.
- Stop if the paint shows cracking or delamination, if you find unexpected filler or corrosion, or if the pull creates a new high rather than reducing the original low.
- If the tab releases, diagnose the failure — glue fracturing, bond letting go of the tab, or bond letting go of the paint — before reapplying, since each points to a different fix.
Hot glue earns its place here too when there's no usable backside access, or reaching it would mean disproportionate disassembly.
Hobbyist Kits vs Professional-Grade Systems: Which Glue Kit Fits Your Work
A general repair kit — a modest spread of tab sizes with an all-purpose cold glue — covers day-to-day dents on a mixed workload. A hail-volume shop needs more: redundant tabs and glue so multiple technicians can keep working a panel without stopping to clean and reload, and a compound built for repeated pulls over dozens of small dents rather than one clean removal. A micro kit answers the opposite problem — small, shallow, low-tension dents needing precision rather than raw force — and it's typically a piece of that hail workflow, not the whole solution on its own.
Hobbyist glue-gun kits sold as general marketplace listings are built for occasional use: a handful of tab shapes, one glue, no temperature split, and a puller sized for light work. That's fine for the odd ding. It falls apart on volume, because a shop pulling dozens of dents a day needs tabs and glue that survive repeated cycles, a puller matched to the job's weight, and enough spare tabs that a bad release doesn't stall the line. The point isn't that cold glue beats hot glue or the reverse — it's that a kit built for shop throughput carries more redundancy and more matched options than one built for a single weekend repair.
FAQs
Can I use regular hot glue for PDR? No — general-purpose sticks aren't formulated for controlled bonding to automotive paint or clean release, and the gun's temperature must match the specific adhesive.
How do I pick glue for temperature? Match the compound to your working temperature first — cooler shops call for a softer variant, hotter conditions for a firmer one near the 86°F/30°C line — then factor in whether the pull is a quick shock or a slow sustained draw.
Why isn't my glue tab sticking? Usually it's the surface: leftover wax, sealant, or ceramic coating is acting as a separator. Reclean with alcohol or a PDR-specific degreaser, confirm the tab and adhesive are rated for each other, and check the bond had time to fully set.
What's the real difference between a beginner and a professional kit? Tab variety, temperature-matched glue options, and a puller sized to the job — a beginner kit gets you through one dent; a professional system keeps producing consistent pulls across a full day of work.
If your current kit is a single glue and a handful of generic tabs, it's worth upgrading before your next hail job, not during it. Shop Glexo's professional cold-glue PDR kits — tabs, temperature-matched glue, and slide hammers built for shop volume — and ask about regular-customer discounts.