Professional Dent Repair Tool Kit: Choose by Conditions
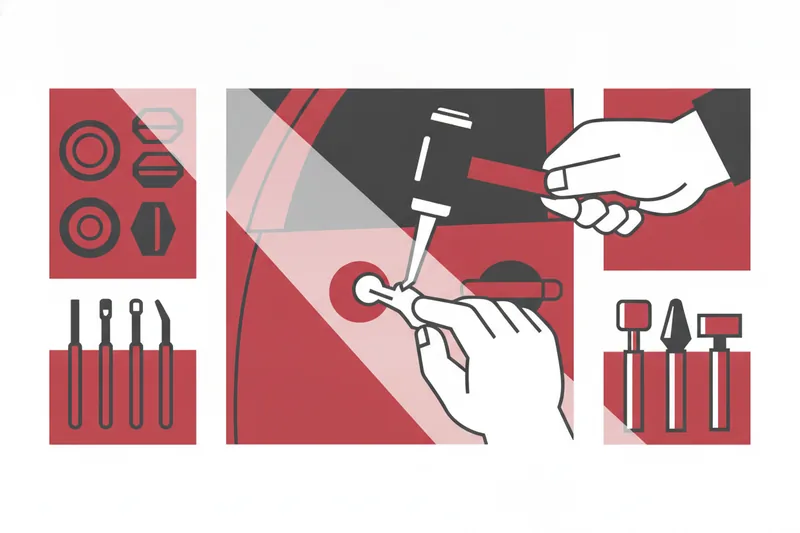
Choosing a professional dent repair tool kit comes down to one question: does it match the glue systems, tabs, tips, and blending or slide hammers to the jobs you actually run — cold mornings, hail backlogs, coated panels — or did someone just count pieces and call it complete? A kit that looks identical to a beginner's set on a shelf can perform nothing like it once ambient temperature, panel access, and surface contamination enter the picture. This guide walks through what actually separates a professional-grade kit from a consumer one, the working conditions that should drive your purchasing decisions, and what a well-rounded setup looks like for both routine work and hail season.
What Makes a PDR Tool Kit Truly Professional-Grade
The difference isn't piece count. A box with forty tips and tabs is not automatically more capable than one with fifteen — more tools in a kit has never meant higher build quality or better outcomes. What separates professional equipment is whether each piece is built to hold up under repeated use and whether the set actually covers the functions a technician needs on a real job, not just the ones that photograph well.
Those functions fall into a handful of core categories. A glue pulling system — tabs bonded to the panel with hot or cold glue, paired with a pulling device — handles dents where backside access is limited or impossible. A slide hammer, a type of dent puller that uses inertial force, works with those tabs to deliver controlled pulling action. Knockdown tools, sometimes called tappers, apply localized striking action to settle a damage crown — a secondary high point raised when a pull overcorrects — without disturbing the panel's original design crown, the factory curvature the part is built to hold. A set of interchangeable tips — soft, rounded profiles and sharper ones, fitted to a rod or tapper — gives you contact options for reaching and shaping metal from the inside without marking the paint; some manufacturers market these under line-specific names, but the underlying category is simply internal-access tooling in different profiles. Blending hammers round out the set, used to settle and smooth metal during finishing.
Beyond these, a genuinely professional range extends further: PDR rods and whale tails for backside pushing, reflector boards and line boards for reading the panel, and tap-down pens for fine finishing work — the tool category is broader than glue-pulling and metal-working equipment alone. None of these replace the others; a kit assembled around just one method will leave you improvising on the jobs it doesn't cover.
The Working Conditions That Decide Your Tool Choices
Tool selection should never start with "what's in the kit." It starts with the repair plan — the panel, the damage, the finish, and the access you have — and the tools get picked to fit that plan, not the other way around. Two working conditions do the most to decide which tools actually earn a place in your van: temperature and surface contamination.
Temperature and Cold Glue Performance
Cold glue's behavior changes with ambient temperature, and that's why most professional ranges split formulations rather than offering one all-weather product. A formulation built for a cool shop can turn sluggish and under-tacky on a hot afternoon; one built for heat can set too fast and lose workability in a cold bay. The decision also depends on the pull itself: a sharp, shock-style pull generally wants a more rigid glue, while a slow, sustained pull suits a more elastic one. Exact temperature cutoffs vary by manufacturer and product line, so check the technical data for the specific glue rather than assuming a single threshold applies across brands.
Surface Prep and Adhesion Quality
Adhesion failures on a glue pull are rarely about the glue — they're about what's still on the panel underneath it. Wax, ceramic coating, sealants, and road film all act as separators that cut glue's grip on paint, which is why surface preparation in PDR means chemical cleaning specifically, not a wipe-down with a shop rag: isopropyl alcohol in a commonly used range of roughly 97–99%, or a PDR-specific degreaser, strips those contaminants before a tab goes on. On older paint, or panels carrying a ceramic coating or protective film, a single pass often isn't enough. A disposable surface-prep wipe built for deep cleaning gives a more consistent, ultra-clean surface than a reused rag, and it's a cheap insurance policy against a pull that fails mid-job because the tab let go.
Evaluating Variety, Redundancy, Compatibility, and Build Quality
Once the repair plan and conditions are set, a selection framework — not a catalog list — narrows down which category of tool actually fits: the part, the finish, the access, the damage geometry, and the method all weigh in before a specific tool gets picked. A few practical points follow from that:
- Tip geometry is a trade-off, not a preference. A small or sharp tip concentrates pressure for precision but raises the risk of pushing a new high point or leaving a mark; a broad or soft tip spreads the load and moves more metal but localizes a deep point less precisely. A kit needs both ends of that spectrum, not just the one that's easiest to use.
- Supporting tools — knockdowns, blending hammers, interchangeable tips, leverage supports — manage surface control and access; they don't replace the push or pull tool itself. A kit missing them forces you to finish with whatever's on hand.
- More leverage isn't free. A longer lever on a push tool reduces the tactile feedback you're reading the panel through, loads the pivot harder, and raises the cost of a slip or an overpush. Compatibility between handle, tip, and panel access matters more than raw mechanical advantage.
- Redundancy and build quality show up fastest under volume. A tab or tip that's fine for occasional use can become the bottleneck on a backlog, which is the subject of the next section.
Assembling a Kit for Hail Season and High-Volume Work
Hail damage means dozens to hundreds of dents across the roof, hood, and decklid, varying in diameter and depth on the same vehicle. That volume changes what "well-equipped" means: a hail workflow isn't built around cold glue alone — it typically combines lighting, hail rods, hand tools, whale tails, hot-glue tabs, pulling devices, knockdowns, and cold glue in whatever mix the panel and access call for. A kit that assumes every hail dent gets the same tab-and-pull sequence will slow you down the moment the damage varies.
What redundancy actually buys you here is uptime. Running multiple tab sizes and a reliable glue supply means you're not stopping mid-vehicle to improvise a fix for a 10mm dent when your kit is built around 19mm tabs. A cold-glue tab-and-slide-hammer system is one component of a hail repair plan, not the entire plan — the glue, the tabs, the slide hammer's pulling mass, and the panel access all have to line up, and a manufacturer's suggested procedure is a starting point rather than a formula to apply unmodified to every dent on the hood. Repeating a pull without reassessing the shape can make things worse rather than better, and OEM, finish, and access considerations still override whatever the kit's instructions suggest.
It's also worth remembering that not every hail mark is a PDR candidate the moment you see it: panel, damage pattern, finish condition, access, and OEM rules all factor into whether a dent is repairable before a tool ever touches it. Fast triage up front saves more time across a hail backlog than any single tool does.
What a Well-Rounded Professional PDR Kit Includes
By category, a kit built for both routine work and volume jobs covers: a glue pulling system with tabs across several diameters and both hot and cold glue options; a slide hammer or hand puller matched to those tabs; knockdown tools with interchangeable tips, including a mirror-polished option for fine detailing and a broader mushroom-style tip for blending; soft and sharp internal-access tips for reaching dents from behind the panel; blending hammers across a weight range — professional models typically run in the range of about 3.5 to 8 ounces (100–230 g), with most everyday work settled around 5 to 6 ounces (130–170 g); and surface-prep wipes or a dedicated degreaser for cleaning ahead of every glue application. Anti-adhesion storage film for tabs that aren't in use that day is a small addition that pays for itself in how long your tabs stay usable.
None of this needs to come from a single box to count as a professional kit — what matters is that every category above is covered with something built for daily use, not occasional use. Glexo makes glue pulling systems, tabs, specialized tips, and knockdown and blending tools built around exactly these working conditions; browsing Glexo's range of professional PDR tools and consumables is a reasonable next step for matching specific products to the categories above.
Common Questions on Building a Professional PDR Kit
- What temperature should decide which cold glue I stock? There's no single cutoff that applies across every manufacturer — check the technical sheet for the specific glue. The general pattern is a cooler-weather formulation and a separate hot-weather one, with pull dynamics (a sharp shock pull versus a slow sustained pull) factoring in alongside temperature.
- Do I need every tool category — specialized internal-access tips, whale tails, dedicated systems — in my kit? Stock what your job mix calls for — there's no universal list every shop needs. A specialized system being a viable option for some jobs doesn't make it necessary for every shop.
- What are the signs a kit needs upgrading? Running out of a specific tab size mid-job, tips that mark panels because they're worn past their original profile, or having to borrow a tool for a job type you take on regularly are clearer signals than piece count ever will be — adding more tools for the sake of it doesn't raise quality on its own.