How to Use Auto Hammer for PDR | Glexo
What Is an Auto Hammer (Slide Hammer) in PDR?
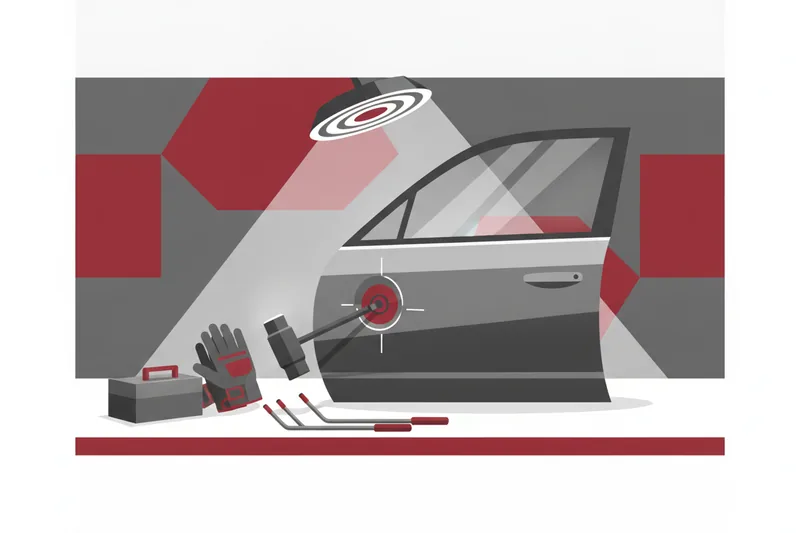
If you searched "how to use auto hammer" expecting a game item from Minecraft or Terraria, this isn't that — in paintless dent repair (PDR), an auto hammer (more accurately called a slide hammer) is a pulling tool, not a crafting recipe. PDR is the professional process of restoring a dented metal panel's shape through controlled manipulation, without removing or repainting the existing finish. A slide hammer only becomes part of that process when it's fitted with a nondestructive, PDR-compatible attachment — never bare metal against the panel.
In practice, the slide hammer is threaded or clipped onto a glue tab: a small plastic disc bonded to the outside of the dent with cold glue, a reusable tacky adhesive designed for repeated pulling cycles. Once the tab is seated, the technician slides the hammer's weight along its shaft, and the resulting shock transfers straight force through the tab, pulling the metal outward until it returns to shape — the opposite of the traditional method of pushing dents out from behind the panel with rods. Glexo builds its cold-glue systems and tab kits specifically around this pull-based workflow, which is why matching the right glue and tab to the job matters as much as the pulling technique itself.
How Auto Hammers Differ From Other Dent-Pulling Tools
A slide hammer pulls; most other PDR tools push or tap. Understanding that split tells you which tool belongs on which dent.
- Slide hammer (auto hammer): exterior pull, tab-and-glue based, used when the backside of the panel is inaccessible — double-skinned sections, sealed cant rails, or areas blocked by internal bracing.
- Blending hammer: a handheld striking tool used from the panel's reachable underside to settle and smooth metal after the bulk of the dent is pulled or pushed out — available in different weights for different panel gauges and dent sizes.
- Knockdown tapper: a precision tool with interchangeable, often mirror-polished tips, used for fine detailing strikes that flatten small high spots without marking the paint.
- Sonic tips: Glexo's name for a line of spiked and rounded metalworking tips (not an acoustic or powered device) used for internal access work, applied with soft pressure or short strikes depending on whether a soft or sharp tip is selected.
The dent pulling technique with a slide hammer typically comes first on inaccessible or deep dents, while blending hammers, knockdown tappers, and Sonic tips handle the finishing pass once the panel has moved back close to its original contour.
Step-by-Step: Preparing the Panel and Attaching the Glue Tab
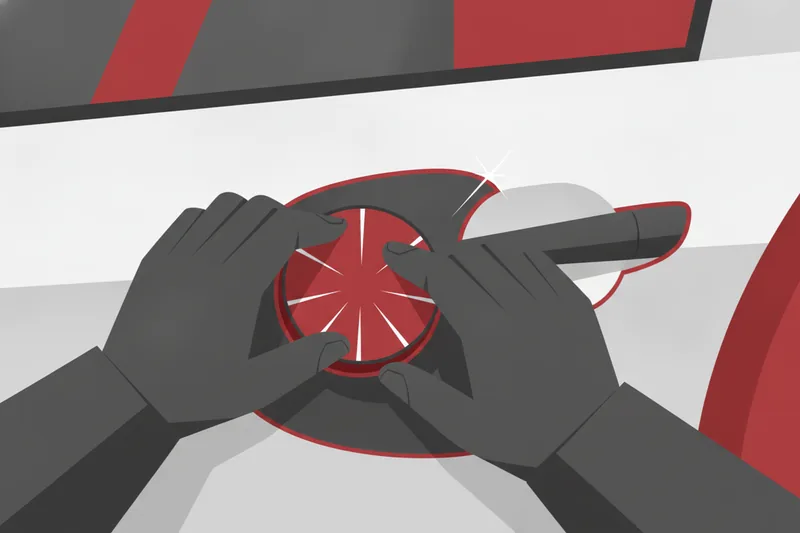
Adhesion fails before pulling technique ever does. Most weak pulls trace back to a panel that wasn't properly prepped.
Cleaning the panel with SPS wipes
Wipe the repair area with SPS surface-prep wipes — disposable, pre-saturated cleaning wipes designed for deep removal of wax, sealant, and surface contaminants before glue application. Even paint that looks clean can carry a thin film of protectant that weakens tack; this step matters more on older clear coats or vehicles with recent ceramic or wax treatment. Let the panel dry fully before moving on — any residual moisture undercuts the glue bond.
Applying cold glue and seating the tab
Apply a thin, even bead of cold glue to the tab face — not the panel — then press the tab onto the center of the dent's lowest point. Twist it firmly a quarter turn as you seat it; this works the adhesive into full contact across the tab surface rather than leaving air pockets at the edges. Hold light pressure for the few seconds the glue needs to grab. A tab that slides or rotates under light pull-test pressure isn't ready — reseat it before attaching the slide hammer.
Step-by-Step: Using the Slide Hammer to Pull the Dent
Once the tab is fully cured to tack, thread the slide hammer's adapter neck onto the tab post. Force in a glue pull travels through a chain — hammer, adapter, tab, adhesive, finish, panel skin — and each link has to hold before the next one can do its job.
- Grip square and centered. Keep the hammer shaft perpendicular to the panel surface; an angled pull twists the tab instead of lifting it straight out.
- Start with short, controlled strokes. Slide the weight a few inches and let it strike the stop — don't swing it full-length on the first pass. This lets you gauge how much resistance the metal is giving back.
- Read the panel as you go. Watch the reflection line under a work light between strokes. Metal that's moving will show the crown gradually flattening and the light line straightening; metal that isn't moving needs a different tab position or an additional pull point, not more force on the same spot.
- Increase stroke length gradually only if the panel is responding and the tab is holding. Deep or stretched dents may need multiple pull points worked in sequence rather than one aggressive pull, since overworking a single point risks stretching the metal further.
- Stop pulling once the crown is close to flush, and hand off to blending hammer or knockdown work for the final low-spot correction — the slide hammer's job is bulk movement, not final finish.
Choosing the Right Glue for Ambient Temperature
Cold glue's tack behavior changes with temperature, and a mismatch is one of the fastest ways to lose a tab mid-pull. Glexo's cold glue line is split by working range: one variant is formulated for use up to 86°F/30°C, and a second, firmer-setting variant for conditions above 86°F/30°C. In a hot shop bay or direct sun, a glue meant for cooler conditions goes too soft and lets the tab slip under load; in cooler conditions, a hot-range glue may not develop enough initial tack to hold through the first stroke.
Check the ambient temperature at the panel surface, not just the room, since a panel sitting in direct sun can run well above the surrounding air. There's no single glue that covers every condition equally well — matching the variant to the day's actual working temperature is part of the technique, not an afterthought.
Using an Auto Hammer for Hail Dent Repair
Hail work is where slide hammer technique gets tested at volume. A single panel can carry dozens of small dents, and a shop's throughput depends on how fast a technician can prep, tab, and pull without redoing failed bonds.
The practical adjustment for hail jobs is redundancy: keep multiple tabs prepped and staged rather than gluing one at a time, and cycle through cold glue that's designed for repeated pulls rather than single-use adhesive, since cold glue's tacky compound is generally retained and reused across pulls as long as it stays clean and intact. That reuse is what keeps a hail kit moving — retabbing from scratch on every dent adds up fast across a hood or roof. It's also worth remembering that not every hail dent is a straightforward PDR candidate; access, panel type, finish condition, and OEM repair rules should be checked before committing a panel to a glue-pull workflow.
Common Mistakes and How to Avoid Pushmarks
Pushmarks — small raised or stressed spots left in the metal from uneven or excessive force — are the most common visible failure in glue-pull work, and nearly all of them trace back to one of these errors:
- Wrong glue for the conditions. A tab that's under-tacked from a temperature mismatch shifts position mid-pull, concentrating force unevenly and leaving a mark instead of a smooth pull.
- Poor adhesion from inadequate prep. Skipping the SPS wipe step or gluing over residual wax leaves a weak bond that either fails outright or transfers force unevenly across the tab.
- Over-pulling a single point. Repeatedly striking the same tab position past the point where the panel is responding pushes stretched metal further rather than correcting it, and can leave a high spot that's harder to finish than the original dent.
- Skipping the finishing pass. Treating the slide hammer as the whole repair instead of handing off to a blending hammer or knockdown tapper for final low-spot correction leaves visible waviness even when the bulk of the dent is gone.
The fix in each case is the same principle: match materials to conditions, verify adhesion before pulling, and read the panel's response instead of pulling on a schedule.
Auto Hammer Maintenance and Care
A slide hammer has few moving parts, but neglecting them shortens its working life and hurts pull quality. Clean cured glue residue off the adapter neck and tab threads after each session — hardened adhesive buildup prevents tabs from seating flush and can throw off the alignment of your pull. Inspect the sliding shaft and stop collar periodically for wear; a stop that's loosened over time delivers an inconsistent strike instead of a controlled one.
Reusable tabs deserve their own check: once a tab's face is scarred, cracked, or no longer holding a clean glue film, retire it rather than risk a failed pull mid-job. Store tabs and glue away from direct heat, since off-storage temperatures can affect tack before the product even reaches the panel.
FAQs
Is "auto hammer" the same as "slide hammer" in PDR? Yes — auto hammer is the common shop term for the same tool most manufacturers and technicians call a slide hammer: a sliding-weight pulling tool used with glue tabs.
Can glue tabs be reused? Cold glue tabs are generally designed for repeated pulls, and the adhesive can typically be reused as long as it stays clean and undamaged and the product's own guidance supports it. Hot-melt glue pulls, by contrast, bond the tab for a single pull and aren't intended for reuse.
Which glue should I use for which temperature? Match the variant to the panel's actual surface temperature, not just room temperature — Glexo's cold glue line splits at 86°F/30°C, with a softer-tack formula below that line and a firmer-set formula above it.
Is this related to the Minecraft or Terraria "auto hammer"? No. This guide covers the physical slide hammer tool used in professional paintless dent repair — a completely different object from any in-game crafting item with a similar name.
If you're ready to put this technique into practice, explore Glexo's cold-glue systems, glue tabs, and hail repair kits built for professional slide-hammer technique — and ask about our regular-customer discounts.